








Showing posts with label holey tees. Show all posts

Friday, August 3, 2012

{Blast from the Past} Purple Rosette Tee


I dug this one out of the vaults and dusted it off for you all, in case you missed it the first time around.  I'm sure you have a tee or two hiding in your closet or shoved in the back of your drawer that could use a makeover.  Here's some inspiration for you:

Purple Rosette Tee


Today I'm sharing a simple way to disguise a holey tee.  I'm still a novice seamstress, so when it comes to me and sewing, simple is best.
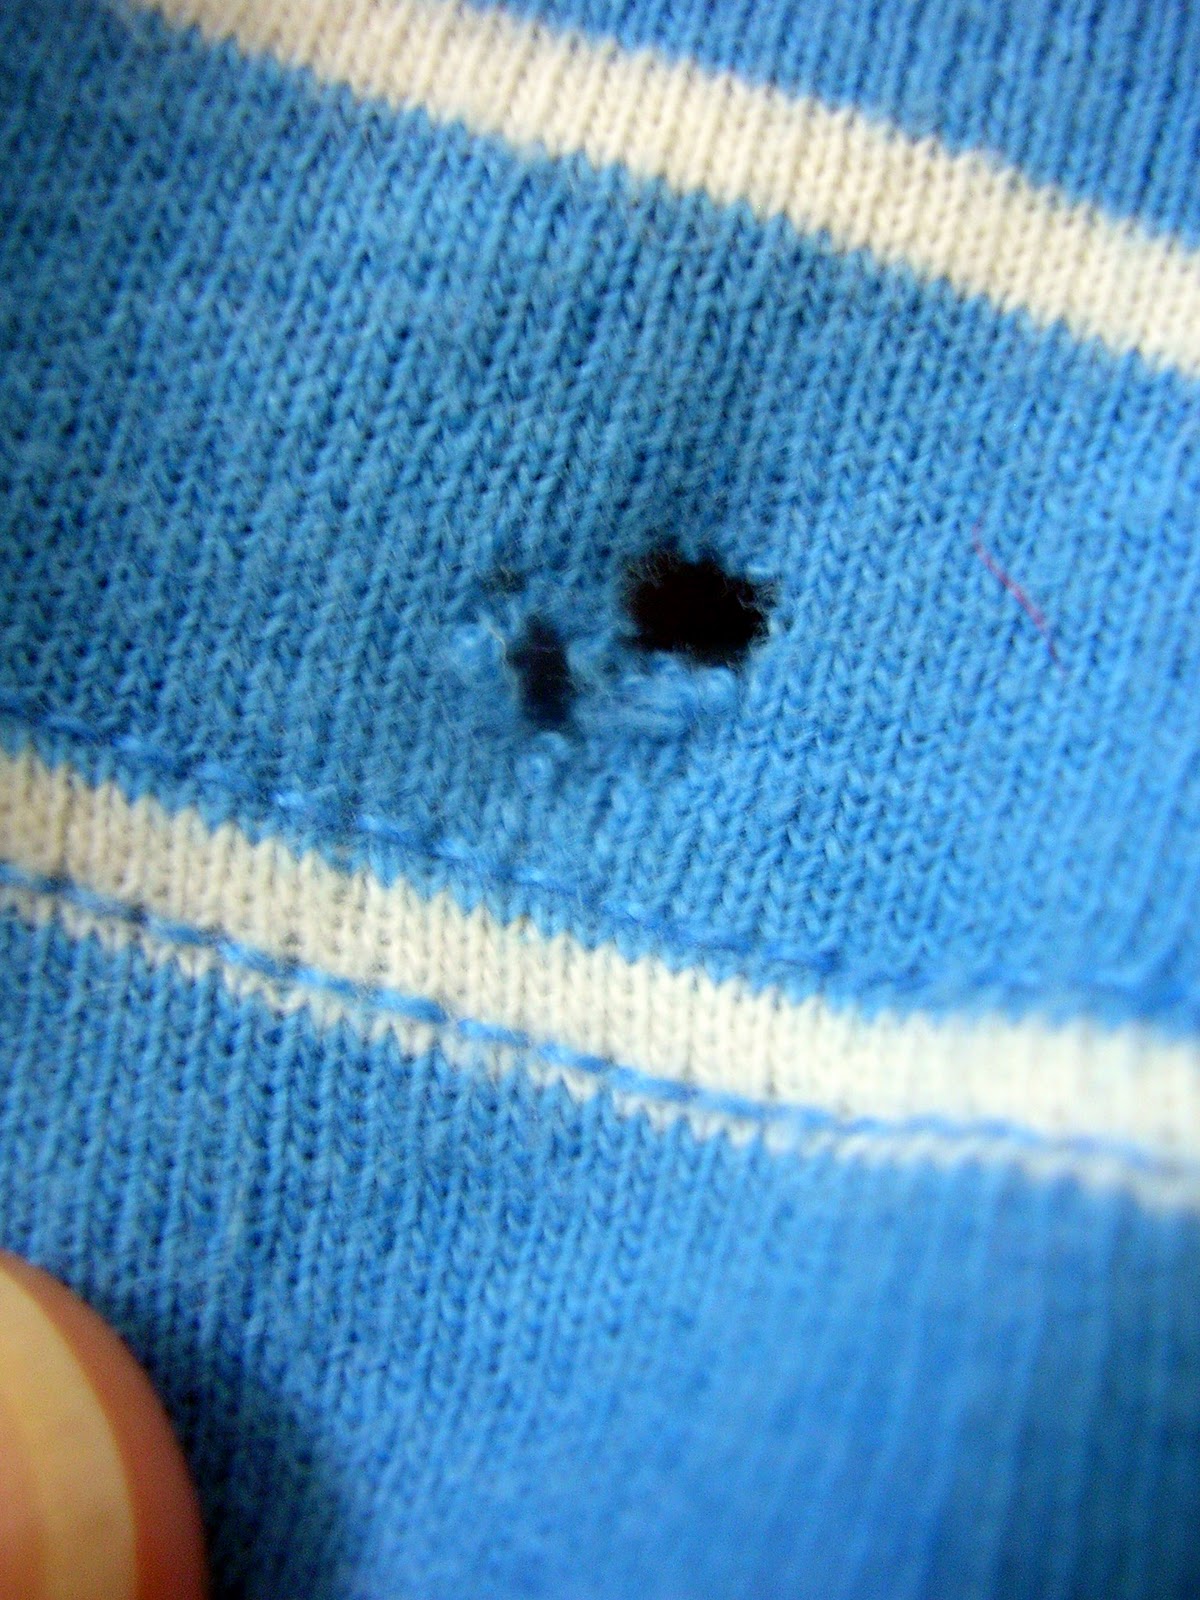
I had a little bit of a mystery-a bunch of almost new tees were developing holes in them, all near the bottom of the shirt, thus ruining otherwise perfectly good shirts.  Not only was it frustrating because I didn't know what was causing the holes, but I felt like I was wasting money because these shirts that had only been worn 2 or 3 times were now trashed.  


This is only about half of the pile of shirts with holes.  I needed to come up with a creative way to cover up the holes without it being obvious that I was hiding something.

With the purple tee (which is also right there on the top), the holes were kind of big and covered a wider area


They were also a little off-center, so it presented a bigger challenge. 

To fix yours up, you'll need:
A holey tee
A tee to cut up in a matching/coordinating color
matching thread
rotary mat, cutter and ruler
tailor's chalk 


Then I found this tee at a consignment shop and had an idea.  It matched the contrast stitching on the purple holey tee perfectly.


It was only $3!  And HUGE!  I've never seen such a large medium-sized tee!  But that meant there was plenty of fabric to work with.


To start off with, I folded the dark purple tee in half and with tailor's chalk, marked a line diagonally down from the collar to just past the last hole at the bottom.


I pulled it out flat like this, still keeping it folded in half (see the chalk line) so that the area I cut out would be even.  Then I cut out that chunk-bye-bye holes!


I measured the length of the piece I cut out and the width at the bottom and cut a piece out using those measurements from the lavender tee.


I wanted it to have a gathered look at the top, so I stitched some thread in about 1/4 in. down from the top of the edge and gathered it by pulling on the thread.


Then, using the piece I had cut out of the purple tee as a guide, I trimmed up the lavender piece


Then pinned it in place.


And sewed the pieces together.


Like so.

Now, you could stop here if you wanted.  But I felt it needed a little something more.


Rosettes make everything prettier!  I cut a few strips of fabric from the lavender tee and rolled them into rosettes, stitching them in place as I went so they wouldn't come undone.


Then attached them to my tee at the collar.


And there you have it!


Holes? What holes?


I'm quite pleased with how it turned out and I hope you love yours too!


post signature

Friday, April 8, 2011

{Fashion Friday} Purple Rosette Tee

In case you weren't able to stop by Tea Rose Home to see my guest post, here's what I shared with Sachiko's awesome readers:

Rosette Tee


Today I'm sharing a simple way to disguise a holey tee.  I'm still a novice seamstress, so when it comes to me and sewing, simple is best.
I had a little bit of a mystery-a bunch of almost new tees were developing holes in them, all near the bottom of the shirt, thus ruining otherwise perfectly good shirts.  Not only was it frustrating because I didn't know what was causing the holes, but I felt like I was wasting money because these shirts that had only been worn 2 or 3 times were now trashed.  


This is only about half of the pile of shirts with holes.  I needed to come up with a creative way to cover up the holes without it being obvious that I was hiding something.

With the purple tee (which is also right there on the top), the holes were kind of big and covered a wider area


They were also a little off-center, so it presented a bigger challenge. 

To fix yours up, you'll need:
A holey tee
A tee to cut up in a matching/coordinating color
matching thread
rotary mat, cutter and ruler
tailor's chalk 


Then I found this tee at a consignment shop and had an idea.  It matched the contrast stitching on the purple holey tee perfectly.


It was only $3!  And HUGE!  I've never seen such a large medium-sized tee!  But that meant there was plenty of fabric to work with.


To start off with, I folded the dark purple tee in half and with tailor's chalk, marked a line diagonally down from the collar to just past the last hole at the bottom.


I pulled it out flat like this, still keeping it folded in half (see the chalk line) so that the area I cut out would be even.  Then I cut out that chunk-bye-bye holes!


I measured the length of the piece I cut out and the width at the bottom and cut a piece out using those measurements from the lavender tee.


I wanted it to have a gathered look at the top, so I stitched some thread in about 1/4 in. down from the top of the edge and gathered it by pulling on the thread.


Then, using the piece I had cut out of the purple tee as a guide, I trimmed up the lavender piece


Then pinned it in place.


And sewed the pieces together.


Like so.

Now, you could stop here if you wanted.  But I felt it needed a little something more.


Rosettes make everything prettier!  I cut a few strips of fabric from the lavender tee and rolled them into rosettes, stitching them in place as I went so they wouldn't come undone.


Then attached them to my tee at the collar.


And there you have it!


Holes? What holes?


I'm quite pleased with how it turned out and I hope you love yours too!

I'm working on some more tee re-vamps so be on the look-out!

Friday, October 1, 2010

Fashion Fridays: Holey Tee Revamp #2

I hope you all have been enjoying Reader Appreciation Week!

I've been working on that pile of t-shirts again and got one done this week (along with a bunch more sewing projects!)


I saw this shirt while in Miami and knew exactly shirt I could do this to!


This shirt had a pretty good sized hole.  I was so upset-I'd only worn it a few times!  But I thought the ruffles and lace would be perfect to covering it up and adding some flair.  I stitch up the hole, so it wouldn't keep growing, then got to work.


I started from measuring the shirt from the right shoulder seem to bottom middle (just a little to the left of the hole.)  Using those measurements, I cut two pieces of lace and then added on 6 inches to the length and cut out two pieces of knit fabric that were 2 inches wide.  I ruffled the knit fabric.


Then I pinned on one piece of lace, sewed it in place, then pinned on a ruffle and sewed it in place.


Repeat with the remaining lace and ruffle.


And you're done!


I like the way the ruffles and the lace look together.


And that hole?


Can't even tell it was ever there!


post signature

Friday, August 27, 2010

Fashion Friday: Holey Tee Revamp #1

Remember my sad holey tees?  Well, I promised I'd show you what I did to "fix" them.  Here are the first three.


This one I actually did a while ago, but it was the first of the holey tees to get a make-over.


This one had several spots with holes, which was tricky.


I cut out black flowers and sewed them on over the holes.  I plan on sewing on a few more to make it look more "natural."


This one was a mess-it had a HUGE patch of holes.


I cut 5 rectangles, including the spot with the holes, along the bottom of the shirt.  Then I choose a fabric that was a lighter shade of pink and cut out rectangles that were just bigger than the rectangles I cut in the shirt.  I placed them behind the holes and attached them with a light pink thread.  The result is this:


I quite like it.  It looks like the lighter fabric is woven through like a ribbon.  I'm thinking about adding a little bow on one end.  What do you think?
Related Posts Plugin for WordPress, Blogger...