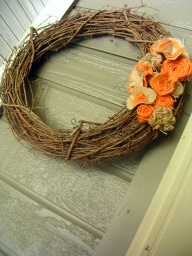
Interchangeable Wreath
It all started with this wreath. I've had it for a few months and it's just been sitting in my closet because I've been indecisive about what I wanted to do with it. I didn't want to "commit" it to one look. So I racked my brain and came up with a way to make it interchangable! And since fall is right around the corner, I decided to start off with a fall-ish look.
I made several different kinds of burlap flowers. This one I ruffled by sewing a line down the center,
Then gathered it tight.
I formed it into a circle and stitched it together so it wouldn't come apart.
I also made a few rolled flowers by cutting a strip of burlap about 1/2 inch wide, folded it in half and rolled it.
Then stitched the bottom.
I also made some orange burlap rosettes and some layered "flowers" out of the tan and orange burlap.
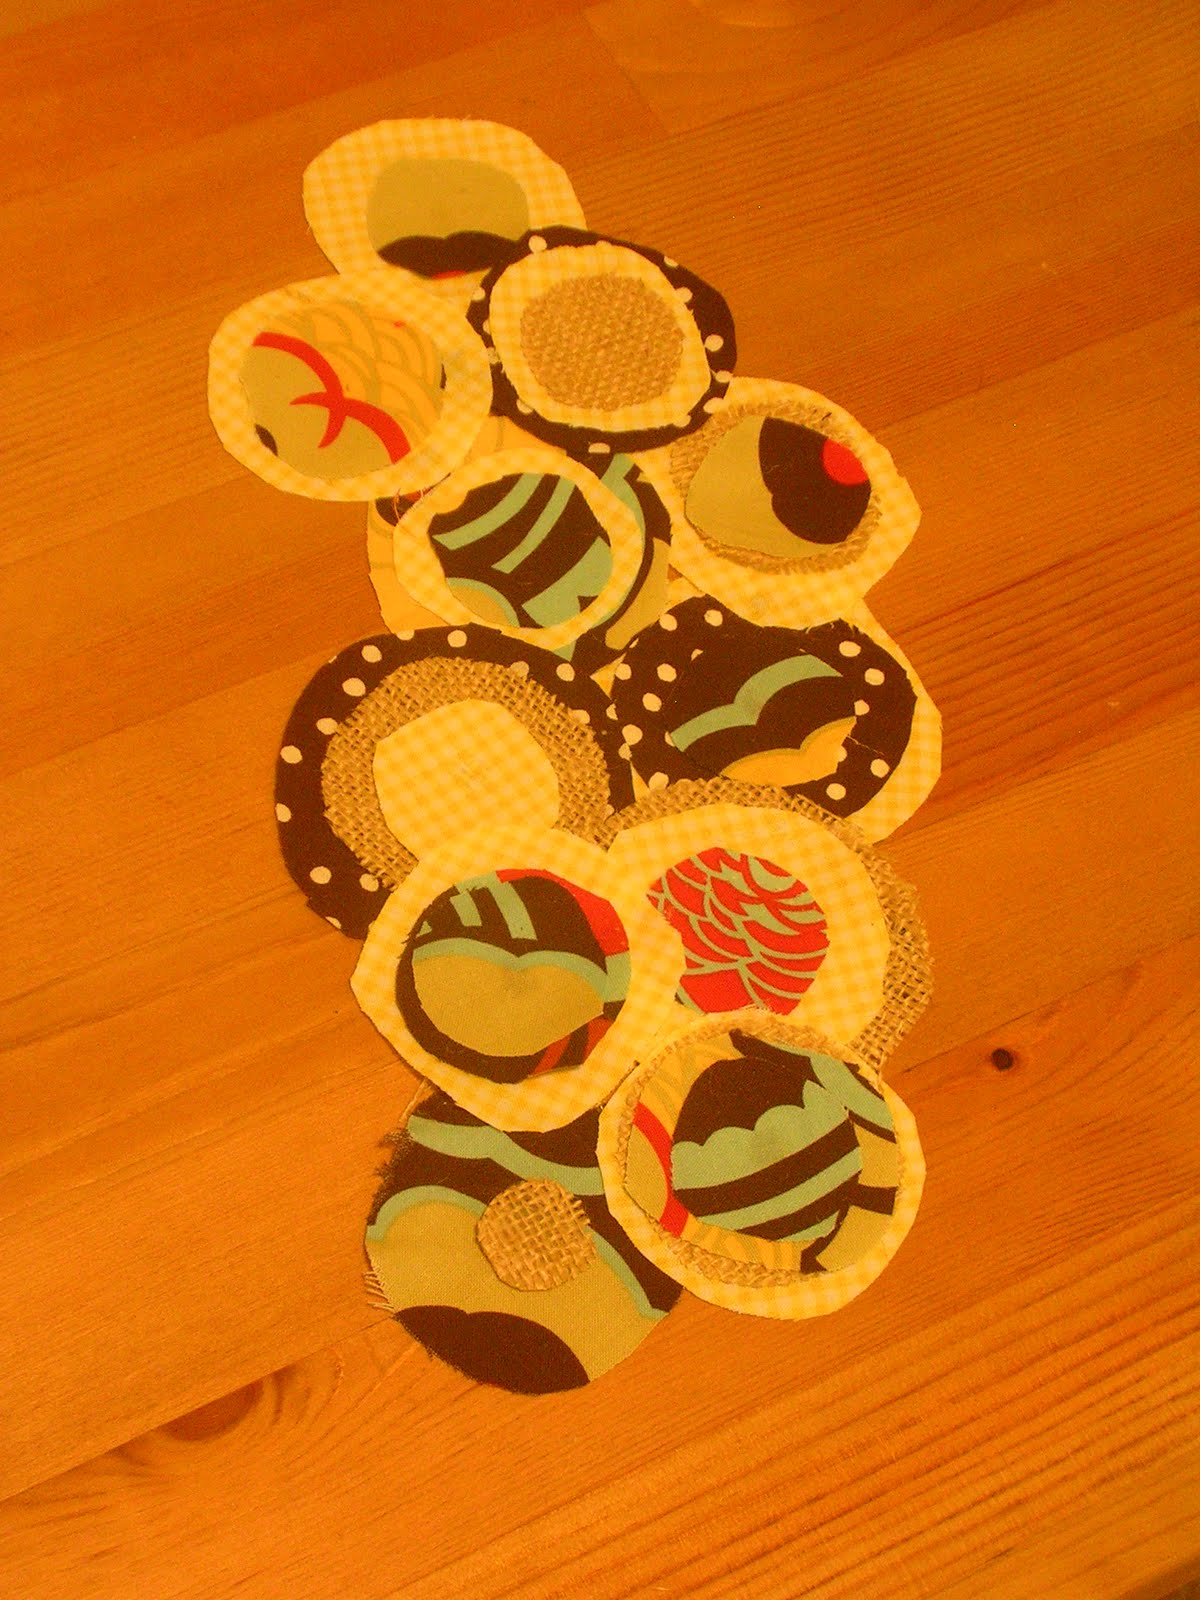
Here comes the "interchangeable" part: I then arranged them how I wanted on the wreath then moved them onto a piece of brown felt and hot glued them in place. Then I trimmed the felt around the outline of the arrangement.
I then cut two half inch pieces of velcro.
I hot glued the loop (fuzzy) side to the back of the felt.
And hot glued the hook (rough plastic) side onto the wreath. Then I attached the felt piece onto the wreath.
There you go! I've got a lovely fall wreath that I can change out when the idea strikes.
Here are some of the other embellishments I've made for my wreath:
I was inspired by this
cute burlap wreath by Jen from Tatertots and Jello-go check hers out!
I'm linking up to the usual parties (see the right sidebar) as well as the CSI Project's Fall challenge.